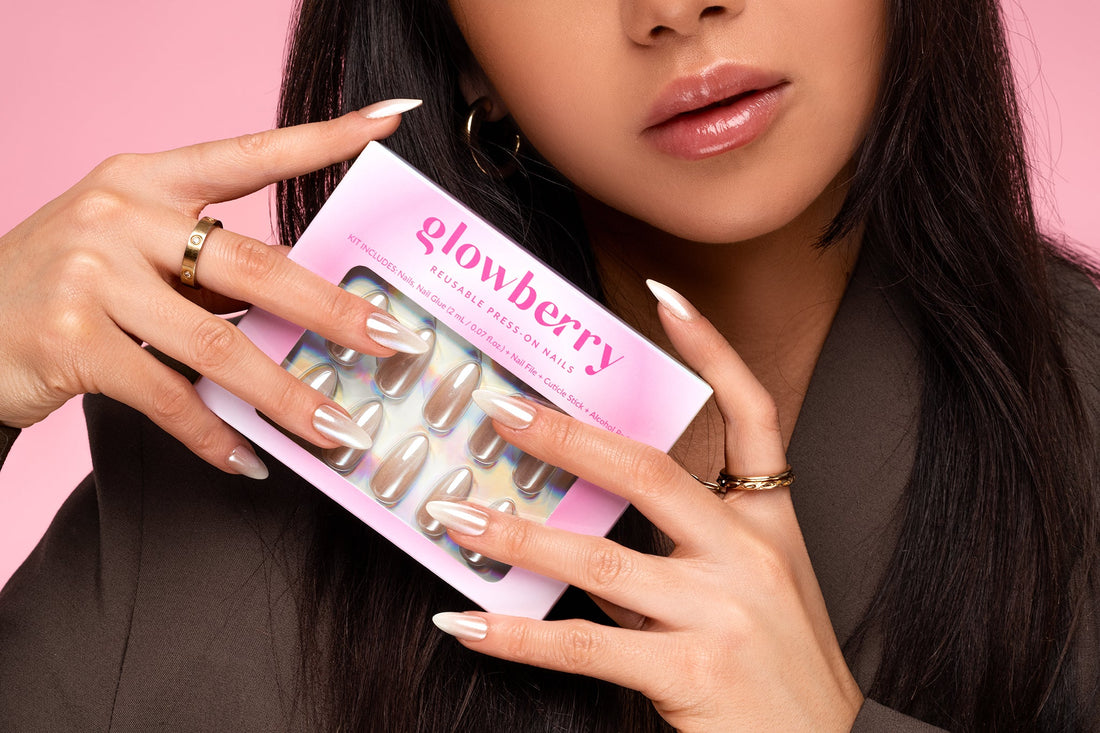
Love salon-style nails but want to skip the cost and time? You're not alone. Press-on nails are one of the easiest and most affordable ways to get a flawless manicure at home — no professional skills needed.
In this press-on nails application guide, we’ll show you how to apply press-on nails step-by-step, including tips to help them last longer and stay damage-free.
Whether you're a beginner or just want a refresher, this guide is for you!
Step 1: Nail Prep Before Press-Ons
Prepping your natural nails is the secret to long-lasting press-ons. Here’s how to start:
-
Gently push back your cuticles with a cuticle stick.
-
Shape your nails using a file to smooth the edges.
-
Lightly buff the nail surface to remove shine — this helps with adhesion.
-
Clean your nails with an alcohol wipe to get rid of natural oils or residue.
👉 Tip: Avoid touching your nails after cleaning — oils from your fingers can reduce stickiness.
Step 2: Choose Your Adhesive Style
Your choice of adhesive affects how long your press-on nails will last.
Option 1: Nail Glue (Long-Lasting Wear)
Best for long-lasting press-on nails (up to 2–3 weeks).
-
Apply a thin, even layer of nail glue to your natural nail and the back of the press-on.
-
Align the nail and press down for 20–30 seconds.
Best for: Vacations, special events, or everyday wear.
Option 2: Sticky Tabs (Short-Term Wear)
Great for stick-on nails for beginners or a weekend look.
-
Choose the sticky tab that matches your nail size.
-
Press it onto your nail, peel the top, and apply the press-on.
Best for: Temporary manicures or easy removal.
Option 3: Glue + Tab Combo (Mid-Term Wear)
A hybrid method for balance.
-
Apply the sticky tab first.
-
Add a drop of glue on top.
-
Press down firmly and hold.
Step 3: Apply Your Press-On Nails
Now for the fun part: applying nails at home!
Follow this easy press-on nail application method:
-
Hold each press-on nail at a 45° angle to your natural nail.
-
Line it up with your cuticle and press down firmly.
-
Hold for 20–30 seconds, or 90 seconds for an extra strong hold.
-
Smooth out any air bubbles while pressing.
💅 Bonus Tip: Don't rush! To make your press-on nails last longer, try to avoid working with your nails for 5 minutes and contact with water for 1 hour after putting them on. This will really extend the wear time of the sticky tabs or glue.
How to Remove Press-On Nails Safely
Removal is just as important as application!
Here’s how to avoid damaging your natural nails:
-
Soak in warm, soapy water for 10–15 minutes.
-
Gently lift each nail from the sides using a cuticle stick.
-
Never force or peel off press-ons — this can cause damage.
-
Clean off any leftover glue and file gently.
Why Press-On Nails Are a Great At-Home Manicure Option
Compared to acrylics or gel, press-ons offer:
-
A non-damaging nail alternative
-
Custom designs without the salon price tag
-
Soft gel press-on nails that are flexible and natural-looking
-
Affordable manicures at home that can last for days or weeks
Brands like Glowberry offer reusable, high-quality soft gel nails with trendy designs — perfect for switching your look anytime you want.
Final Thoughts
Whether you're doing it for the first time or want to perfect your technique, applying press-on nails is a fun and beginner-friendly way to upgrade your beauty routine. With just a few tools and the right prep, you can enjoy salon-level results at home — for a fraction of the time and cost.
So grab your favorite set, follow this guide, and let your nails do the talking. Explore Glowberry’s latest styles and find your perfect match today! 💅✨

